This article contains affiliate links
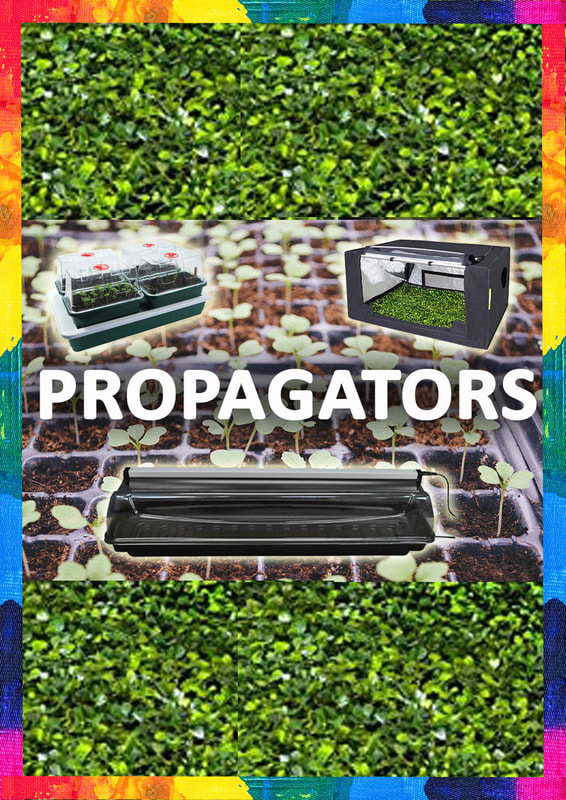
What are Propagators?
Propagators are compact incubators for raising seedlings in an optimum environment. They typically consist of an under tray filled with a growing medium and a transparent cover. In essence this creates a miniature greenhouse which lets light in but retains moisture and heat.
Propagators consequently provide a perfect, sheltered germination and growing environment for young seedlings. Typically propagators are about a square foot in size and made of plastic. They will often have ventilation slots to allow fresh air in and condensation out on hot days. Propagators are particularly in need when it is early spring and night time temperatures are too low for germination. This allows the gardener to raise strong young plants ready to plant for when the weather warms up. They also protect young plants at their earliest and most vulnerable stage of development from pests. Propagators come in a wide variety of shapes and styles with some having inbuilt thermostats and heating. 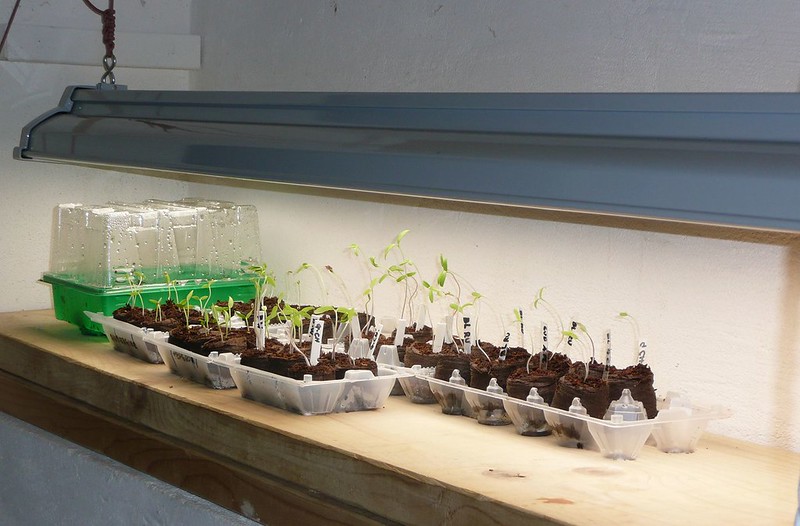
Germinating seeds
Germination is the natural process whereby seeds begin to sprout into new young plants. If a seed is given the correct amount of moisture, oxygen, darkness and temperature enzymes within the seed start to activate. This unleashes stored energy inside the seed causing it to sprout.
One of the obstacles when germinating seeds is keeping the environment stable. At any point during this vital transition a seed can die if it loses any of the vital environmental factors. Things such as sudden frosts, dry spells or pests can stop a seed from completing germination. Hence there are great advantages to germinating plants in a propagator. The combination of stable growing environment and shelter from outside threats make them perfect for the job. The purpose of a propagator is to germinate and then grow plants on until they are large enough to handle. Young plants can then be potted up until so they can grow on to reach their desired size. 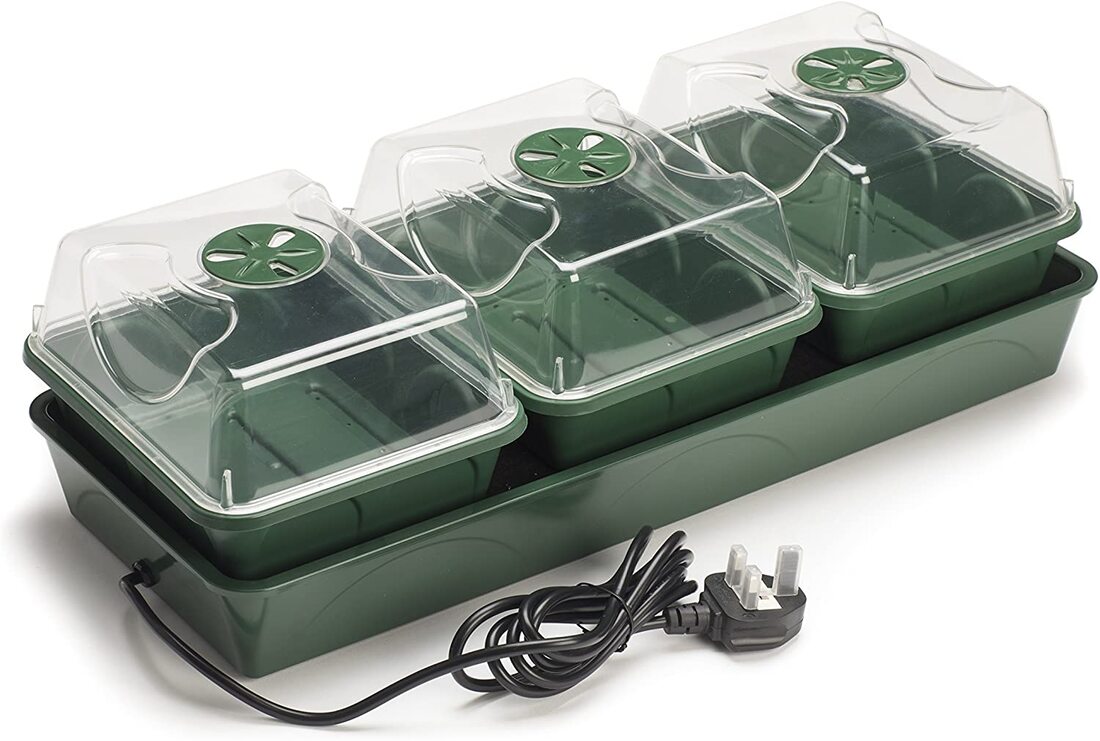
Best soil for propagation
The best soil for propagators is one that is light and fluffy buy will firm down without compacting. You want your propagators soil to retain moisture but not be sodden. You don’t want the soil to be to nutrient rich and you want enough air spaces so roots can easily develop.
The best soil for this can be found by searching for a seed sowing or potting mix. You can buy these readymade or make your own. To make your own mix two parts sieved compost with one part topsoil loam. You can use fine compost if you wish the bottom line here is the structure should be fine but not heavy. If you do use your own soil mix it may be a good idea to sterilise it first. This will get rid of any fungal spores or bad bacteria. This can be done by placing it in a bucket and pouring kettles of boiling water over it. Then it must be cooled and drained. 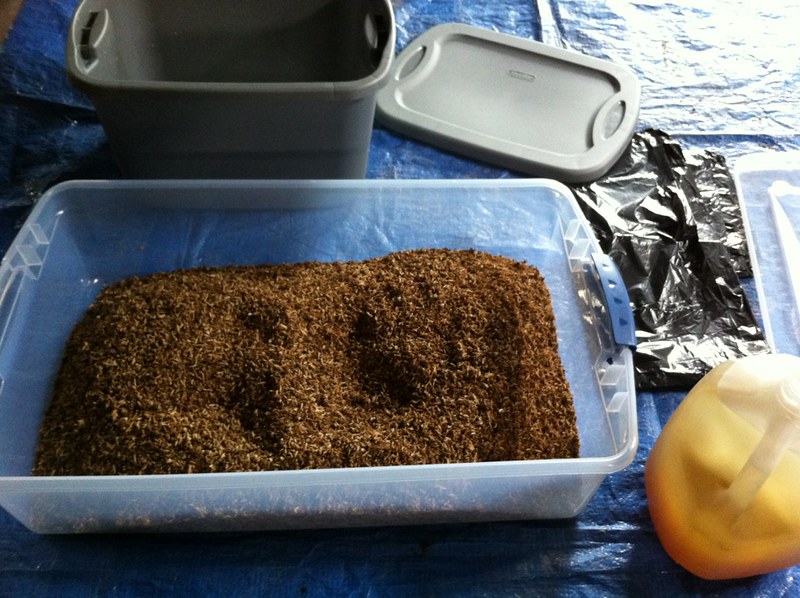
Species selection
When sowing inside a propagator it’s important to consider what species you’re growing and if it’s suitable. Many propagators have quite shallow pot systems which are not suitable for every seedling.
Seedlings of larger plants such as beans and shrubs may find propagators too shallow and end up stunting the young plants. It is recommended that if a seed is much wider than 2 millimetres it may be too large for a small propagator. Furthermore if you sow any seed too densely within a propagator this can stunt a young plants growth early on. However for most annuals, perennials and herbs propagators are perfect for germinating at most times of the year. 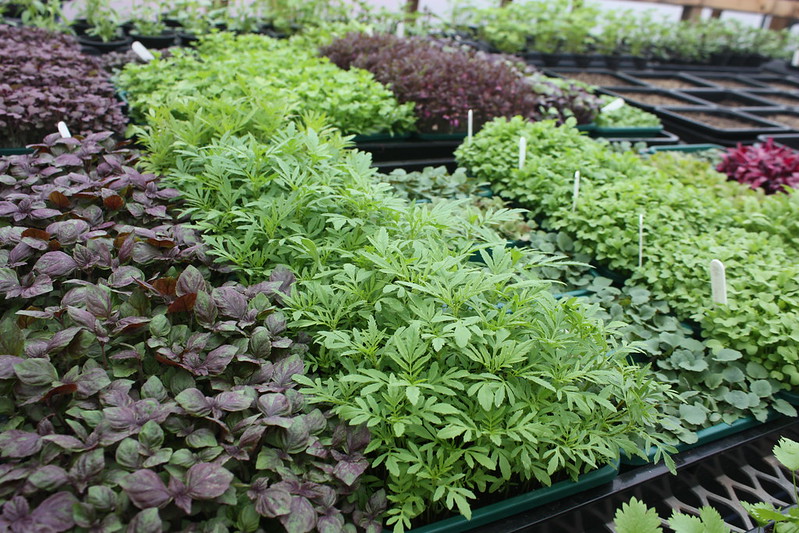
Seasonal timings
One thing that has to be perfected when growing in propagators is the correct timings of sowings. It is very typical to sow some warm loving plants too early.
This can mean potting on and then having a long wait until they can be planted outside. This is especially true of things like chillies and tomatoes. This is less of a problem if you have limitless space inside your home or greenhouse. The latter however is rarely true so having a good knowledge of the likely last frosts in your area is beneficial. If you have a greenhouse try to have an idea of what time the night time lows are inside. This will enable you to sow in your propagator at the right time for the correct species. 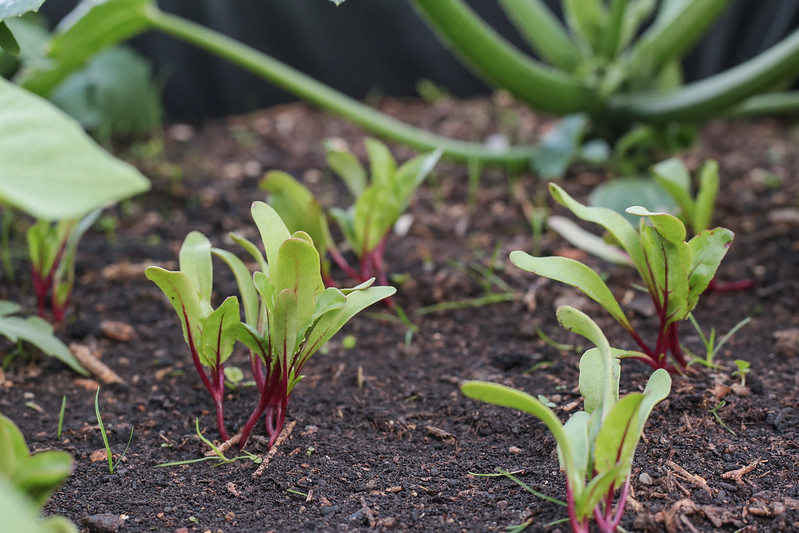
Moisture
The main aim of the propagator is to keep young seedlings moist. Too much moisture however can be catastrophic to the cause. Seeds can soon succumb to fungal infections or simply rot in the ground with too much water.
Some propagators come with drainage holes and a water tray underneath. This is the best scenario as it makes watering easy to manage. Some basic propagators do not have drainage holes. In this case you want to water very lightly to ensure no water logging. In both scenarios you should fill the tray with compost and firm it slightly. Now sow seeds then flutter just enough potting mix over to cover the seeds. With a watering can nozzle water the tray for a second and let the soil settle. This should be moist enough to get the seeds started. The soil should be just damp to the touch but not wet. After a few days check the soil, if you need to add more moisture mist with a spray bottle. 
Temperature
The perfect temperature for seeds to grow in a propagator is between 15 -22 Celsius. However it is important to realise that in nature day time temperatures fluctuate quite a bit.
The temperature can be wildly different at 3am as in the same location at 3pm. I would not obsess about the exact temperature as long as it doesn’t go below 8 Celsius at night and gets at least early spring light for as much of the day. Try to make sure the propagator is not in a location that is susceptible from extreme draughts. If growing very early in the season your seedlings may not get enough natural light. This is particularly true the further from the equator you are. If you live in the extreme north and south you may find your seedling growing leggy and bending towards the light. In such cases you may want to consider a propagator with the addition of UV grow lights. 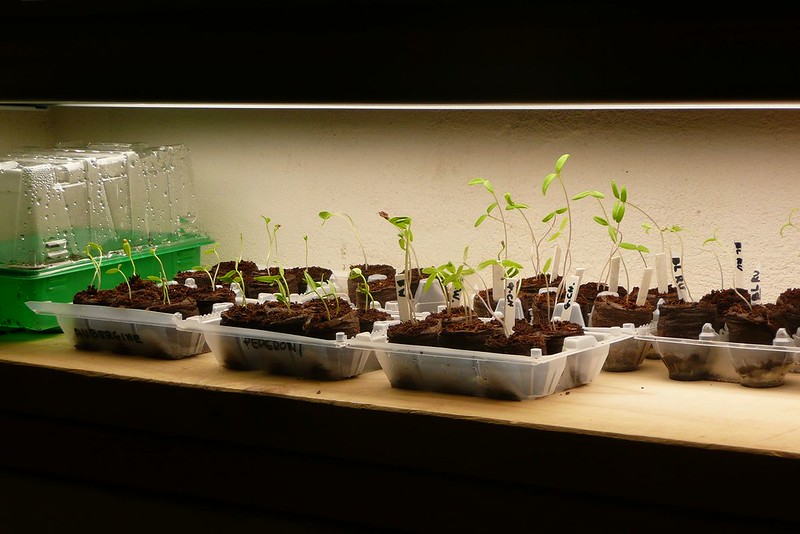
When to open the vents on a propagator?
All propagators have small open-able vents at the top or sides for ventilation. There are three general positions for the vents to be in; closed, half open and fully open.
The general rule of thumb here is when the seedlings have been sowed close the vents. This is to keep a moist and humid environment inside the propagator. This is important as some seeds simply need a day or two just to absorb water before sprouting. When the seedlings start to emerge from the compost it is good to at least open the vents halfway. This increases ventilation and reduces the risk of seedlings rotting. When most of the plants start producing leaves it is best to open the vents completely. If you start to have warm days with warm sunshine the entire top can come off to allow in air flow. 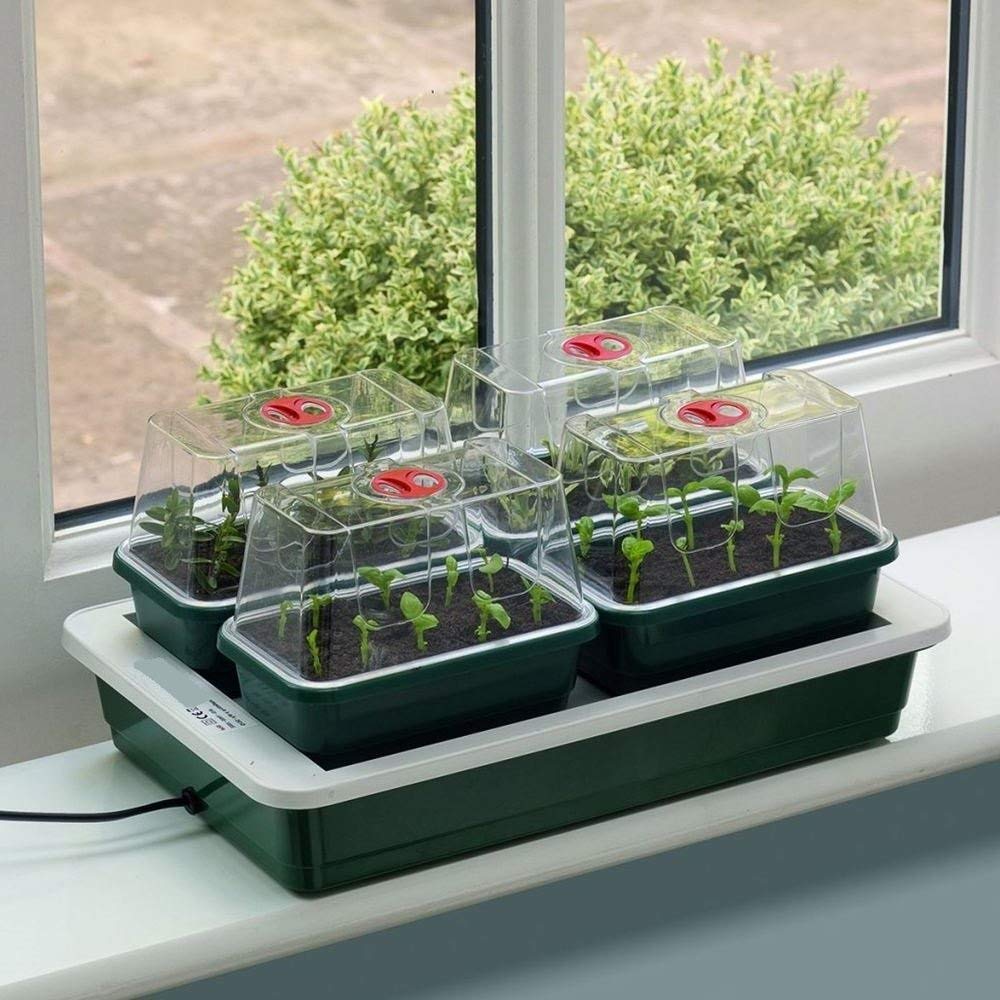
When to remove a seeding from a propagator
The whole idea of growing in a propagator is to get germination complete quickly and efficiently. Due to a relatively limited amount of soil medium it is best to get seedlings potted on as soon as possible. If not you can find yourself with pot bound and stunted young plants.
This is however a complete balancing act plant on too early and you risk breaking the seedlings. We usually find if a seedling has a full second set of leaves and is easy enough to handle it is ready. It is worth noting here that seeds sowed very close together can result in weaker plants. If you try to sow as thinly as possible each plant should become robust faster. There is an element of experience and intuition when knowing when to remove a seedling from a propagator. Sterilising a propagator
It is a good idea to sterilise your propagator after every time you use it. This can be done by washing thoroughly with hot soapy water and a scrubbing brush. When you have finished rinse with clean, cold water.
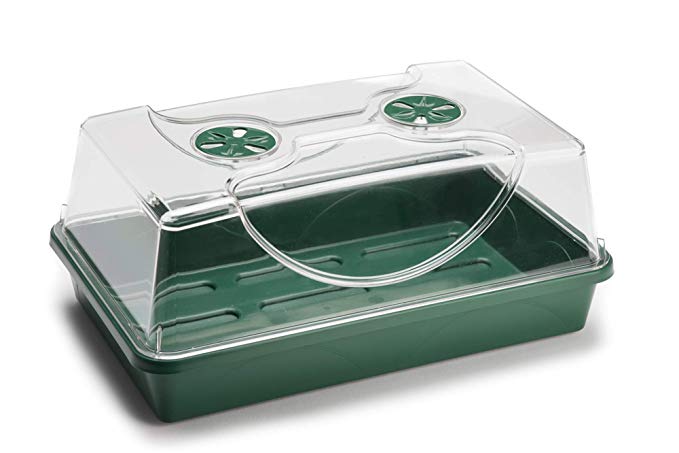
Standard propagators
Commonly you will be using a standard propagator with no heating of any sort. The warmth produced by the sun’s rays is usually more than enough for successful germination. We have listed some standard propagators available on Amazon below.
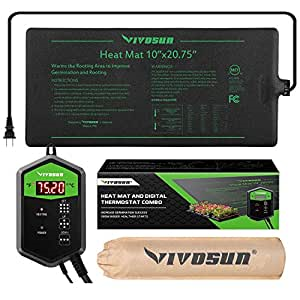
Heat mats
Heat mats also known as propagation mats are designed to sit underneath propagators and pots. As the temperature of the air is generally warmer than the soil a method to heat it is beneficial. Heat mats are the perfect way to get your seedlings to sprout with ease. Even in the winter months if necessary.
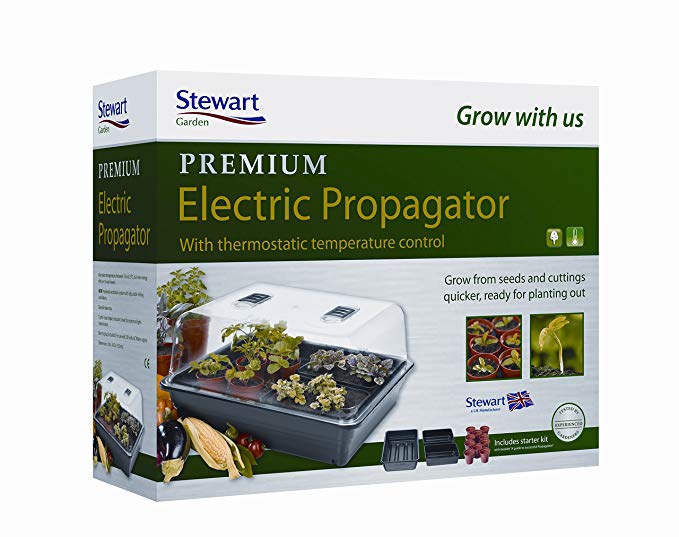
Heated propagators
A heated propagator is fundamentally a propagator with a built in heat mat at the base. This when plugged into an electrical source will gently warm the soil to an optimum germination temperature.
A good electric propagator will come with a sensor system to monitor soil temperature. Acting as a thermostat this will automatically turn the propagator on and off to maintain a constant temperature of around 15 Celsius. We have put together a selection of these for you below. 
Propagators with lights
Propagators with lights come in two separate categories; Ones with built in lights or buying separate UV grow lights and creating your own system. The ones with lights already build in are extremely usefully especially in colder climates. Here you can provide your seedling with that extra boost earlier on in the season.
You may wish to create your own propagator with lights system by buying both separately. The benefit with this method is potentially creating an extensive germination area. This could be far more industrious than a typical window ledge set up. These large set ups can also benefit from reflected screens built from timber and metal foil. 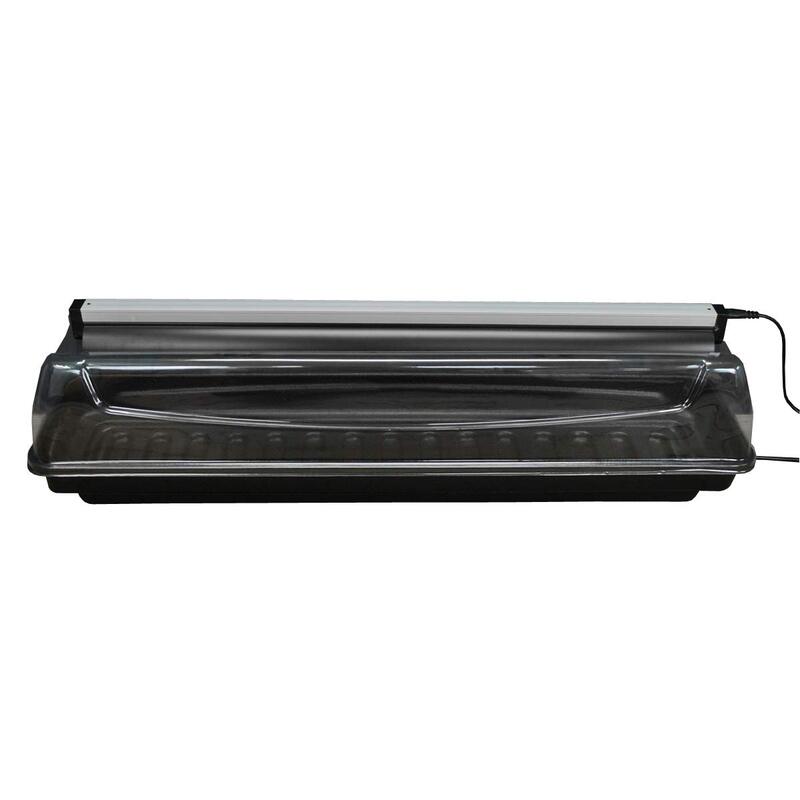
Propagator sets
One of the best ways to get started with propagators is by purchasing a complete propagator set. These usually come with a full step by step guide to set up and growing. They also can contain heating and thermostat systems as well as the propagator itself. We have put an example of some of these below.
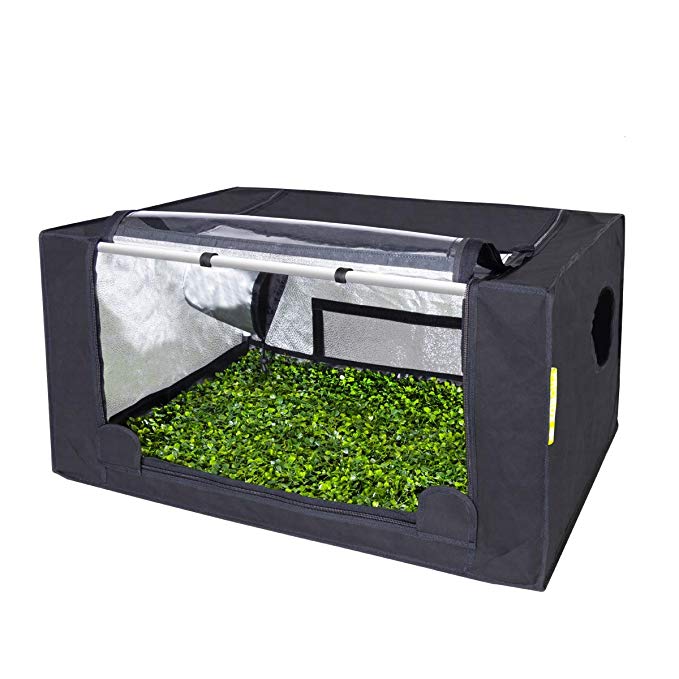
Propagator tents
Propagator tents are exactly what their name suggests and consist of a tent with a foil inside for reflecting light. Some come with inner frames to stack seed trays and ventilation outlets. Some come as a readymade set up with lights and some are sold singly. We have linked to some here if you wish to extend your propagation areas.
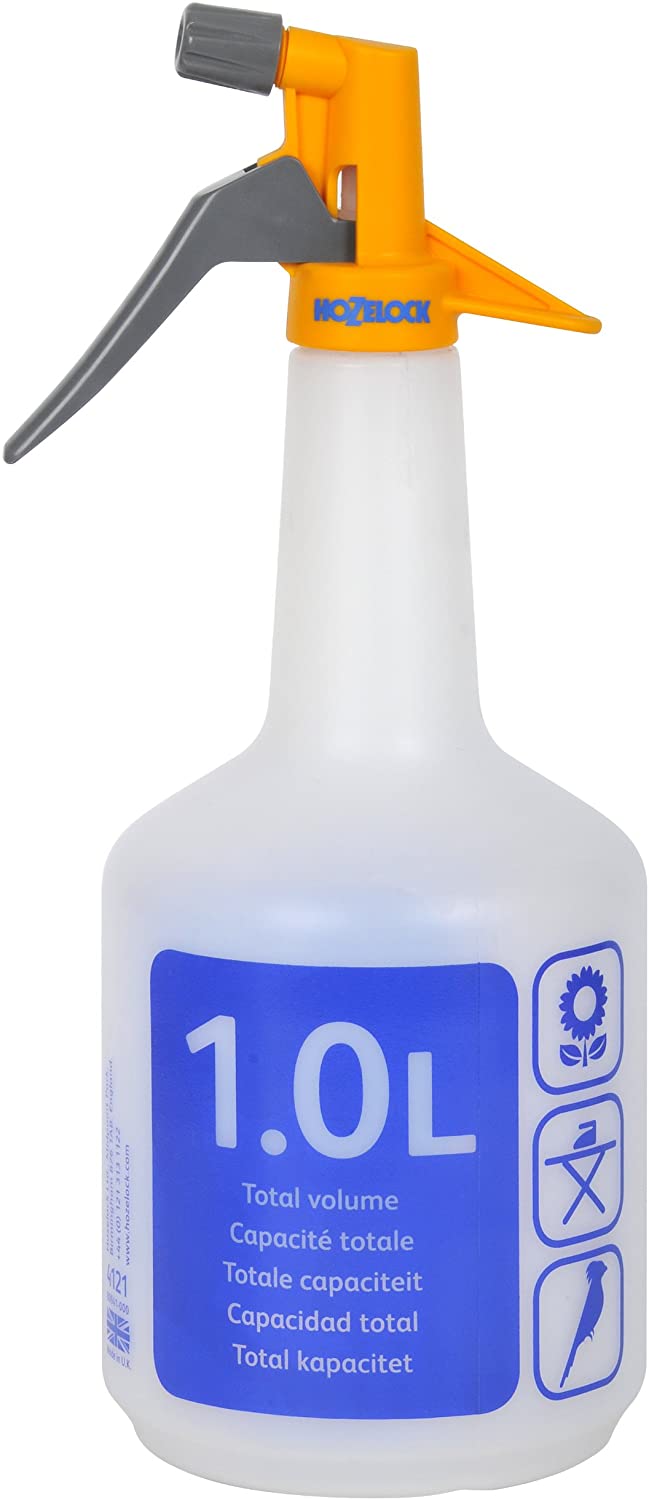
Misters
Misters and spray bottles can be very handy accessories for propagators, we have listed some here.
How to make your own DIY propagator
For those of you on a budget there are a few different ways of making your own propagators. These can be small like typical propagators or eve up to cold frame size. You also have the option to create reflective sides to boost the levels of light and heat. We have embedded an informative video on how to do just that below.
Happy propagating
So there you have it! Pretty much all you need to know about how to use propagators. We hope you found this article helpful, if it did it would mean so much to us if you pinned it or shared it. This helps us to know we are writing helpful articles and helps us to write more. Thanks and happy propagating! Want to read another helpful article on growing in a propagator? We link to one here. Need more garden ideas? Check out our article on garden decor ideas here.
'As an Amazon Associate I earn from qualifying purchases'
3 Comments
3/23/2020 08:03:06 pm
This is what I have been waiting to read from you! I know that I am new, which is why I refuse to ask for better blogs. I understand that I can use this to my advantage, but I just wish to be simple. I want to read all about this and learn about how I can possibly make things better for myself. It is hard to it, that much is for sure, however, I still want to keep on learning.
Helen Carlisle
2/24/2021 04:04:35 am
I agree with Tom! Been using windowsill and now an electric (thanks to my husband!) propagators for a bit. Always worried if I was doing the right thing; found it a bit intimidating. Great information and reassuring to find out it's not an exact science! Thank you! Leave a Reply. |
Archives
October 2023
Categories |


 RSS Feed